Showing posts with label After. Show all posts

Monday, September 26, 2011

Easy DIY: Polka Dot Painted Lampshade


The base I've had since my apartment in Boston, and the lampshade is a plain white one from Target.


I basically just bought a few different silver paints on sale at Michaels and tested them on white card stock to see how they would look. I also got a couple of different objects I thought could make cool circles.


A lot, like the mini corks I bought, were too small for this project. I settled on this round sponge brush:


I started out smushing a lot of paint on the sponge brush, and pressing it down evenly. I have things to do with my life so I wasn't going to measure out and mark exactly where the polka dots should go. I like the randomly spaced and placed dots look. If you want to measure and mark, go right ahead and send me a picture.


After the all 4 sides were done, I was all "meh..." I wanted the paint to look thicker? And, somehow, more interesting?


So I loaded on the paint and pressed it down over each dot.
It got this really cool antler or tree branch-y type look to it?


It dried and BAM. Done.

Thursday, August 11, 2011

Easy DIY: Ugly Candlestick Painting


Here is a super quick and easy do it yourself-er. It came to me as I wandered the aisles of a local thrift store.

You'll need:
- metal candlesticks. I like varying heights. I like odd numbers. 5 is too many. Unless you want a matching pair or something. Whatever. I'm not your boss.
- Spray primer
- Spray paint
- Outside place

What happened is that I was in the thrift store, considering the pros and cons of buying charming mismatched china tea cups, saucers, and salad plates. Whimsical? Dumb? I wasn't sure.

But then, but THEN, I wandered into the tchotchkes aisle.

Serving trays, Precious Moments knock-off figurines (as if the originals weren't terrible enough), things made of glass and plastic, and candlesticks.

I thought "Huh. I like this, but I don't have the kind of home where I can just go around putting brass candlesticks everywhere." Then, "I will paint them."

I picked up a bunch, then narrowed the selection down to 3 by arranging them together and seeing what looked best, like SO:

I washed them, and took them outside.


I primed them using spray primer. Paint primer would have left a lot of brush marks that really aren't going to work with this project. I guess you COULD, but you'd have to wait for the primer to dry, then sand the crap out of it. Then do it again. Not for me.

I made sure every angle was covered and that the stream of primer was even.


There must be a better way to do this, but I don't know what that is. So this is what happened to my hands.


Look! They're blue! (and on the newly stained side table! See that project here.) 


Final arrangement, avec candles.


Friday, July 22, 2011

DIY Project: The Time I Stained the Vintage Side Table


So, once upon a time I lived on a Navajo Reservation. I got almost all of my furniture at Goodwill, with the exception of the leather couch my dad bought me at basically an abandoned warehouse in Gallup, NM called Big Bears Furniture Depot or Big John's Things and Other Stuff or something.

After my first year, this kid Josh moved from the Reservation to a real place like California and he gave a lot of his crappy stuff away.
He piled up everything on his porch and was like "Hey guys, I'm leaving stuff I don't want on my porch."
I acquired a really beat up vintage side table and a crooked wooden stool. When I left the Rez, I gave a lot of my stuff away, included the crooked wooden stool, but brought the table with me to Alabama.

The table was a...meh... color, beat up, and bothered me with its 70s-ness. I hated the table, but it's still a table, you know? And who am I that I think I'm too good to need this table. I can put things on it. And you can lift off the top and there's this little tray inside, which is nice. Also, it's real wood and not particle-board or something, so, a win there.


Here is the top of the table before. It had tons of scratches and marks and sadness.

The bottom of the table before. 
It still had some varnish and clear coating on it, especially on the lower part and the tray.

So I sanded it. A lot. 
A LOT OF SANDING HAPPENED. 
It would have probably been a lot easier to strip the table instead of cleaning and sanding it. 
But stripping furniture is frightening. Also, it was a zillion degrees outside that day so 
sanding inside > using chemicals outside
 
 (Ever noticed that my dog finds his way into a lot of the photos on this blog? I don't know how, but I think he senses the camera. Also, he's very clingy.)

I bought Minwax "Jacobean" stain. It's the darkest stain that isn't black. 


Here's how staining works:
1. clean and sand wood
2. brush on even layers of stain in the direction of the wood
3. wait for a few minutes...like 5...or 15 if you want to give it more time
4.  wipe off the stain with a cloth that doesn't have a lot of lint....
5. Repeat, or don't. It's up to you. 

I don't know what I thought staining would be like, but it wasn't really what I expected. I guess I thought you brush on the stain and it dries and you're done. I had no idea you have to let it kind of soak into the wood then take it off?

I did not, repeat, did NOT sand this enough. The parts that weren't bare enough and took about 2 days to dry and I felt very foolish because I wanted instantaneous results. 
Anyway, here's what that looked like after the first stain:

After the second stain:

After it fully dried, which took way longer than it should have if I had just followed directions, I put on the first clear coat of polycrylic.

After I brush on the first coat, it dried, I sanded out the brush strokes, and put on another layer.

 After it was fully dry.


BAM! done.

Friday, July 15, 2011

DIY Project: Prime and Paint Gross Bookshelf

Things I know (not a comprehensive list):

a. I have no money.
b. I want my house to look nice.
c. I want to have cute things in my house.
d. I have no money.

A solution to problems a and d is to buy cheap stuff.
A solution to b and c is to make that cheap stuff look nice.

I saw a bookshelf at a thrift store. It was $5.88.

And I was all like "Hey, I should buy this ugly bookshelf and paint it a nice color and put it under the wall of picture frames in my house!"

...and so I did. And so I did.


Here is the before!
I know. 
Right now, you are all like "Betsy, why did you buy this?" 
Because it was 5 dollars and 88 cents.


The first thing I had to do was clean it. You can buy a spray to do that. So I sprayed the stuff on. I wiped it off. Boom.Clean.

The next thing I had to do was sand the crap out of it. Because the surface was uneven and weird. So I did that. That took longer than I wanted, but eventually I evened things out.

I got some primer. I painted on a coat with a paint brush.
Waited an hour.
Sanded the primer.
Waited 2 hours.
Sanded it with a really fine sandpaper. (to get some larger brush strokes out)

I probbbbbably didn't sand it as much as I should have, but these things happen.


This is what it looked like after the primer:


I bought high gloss black spray paint because I wanted it to be shiny.


This is what it looked like after first coat:

And after the second coat:


In its new home, empty.


In its new home, with THINGS, you guys:


(Ed. note: I just piled a bunch of stuff in there.Other things will end up filling the shelves. I know we were all very concerned.)

Sunday, July 10, 2011

Real Home: Decision Made!

Last week, I showed you some options for the nook.


After a successful stripping, priming, and painting of a bookshelf (that post will be up shortly) and the fact I'm halfway through a (so far) successful refinishing/staining table project, I've decided that I want to tackle reupholstering those two chairs. God help us all.

So if that ever actually happens, I'm thinking black high gloss paint for the wood and a bright pattern for the cushion (that post will come later with several fabric options).

Here are the chairs. Please ignore le mutt in the foreground. 

What this means for the nook is that I'm going to need to hold off on purchasing a bench/chair for it.

I still, however, needed additional seating for my living room. A few of you weighed in, in various ways, with your picks and opinions and you are all wonderful and smart and fashionable. I decided to go with...(drum roll please)...


The Gray Armchair!


  Here was the little picture window corner before:
 I had my plant, my little vintage table and the slipper chair. It was fine, but not like...AWESOME.

 And here it is after!
 I moved the armchair into the corner, moved the table to the side, and added some additional treasures/tchotchkes to the table. I also put two of my red picture boxes with stationary and other craft supplies underneath. Perfect storage opportunity, for the win. And...AND...I got to introduce some red into the mix. So, you know, big moves were made there.
Boom!

Good call on this one. It really is very comfortable. 

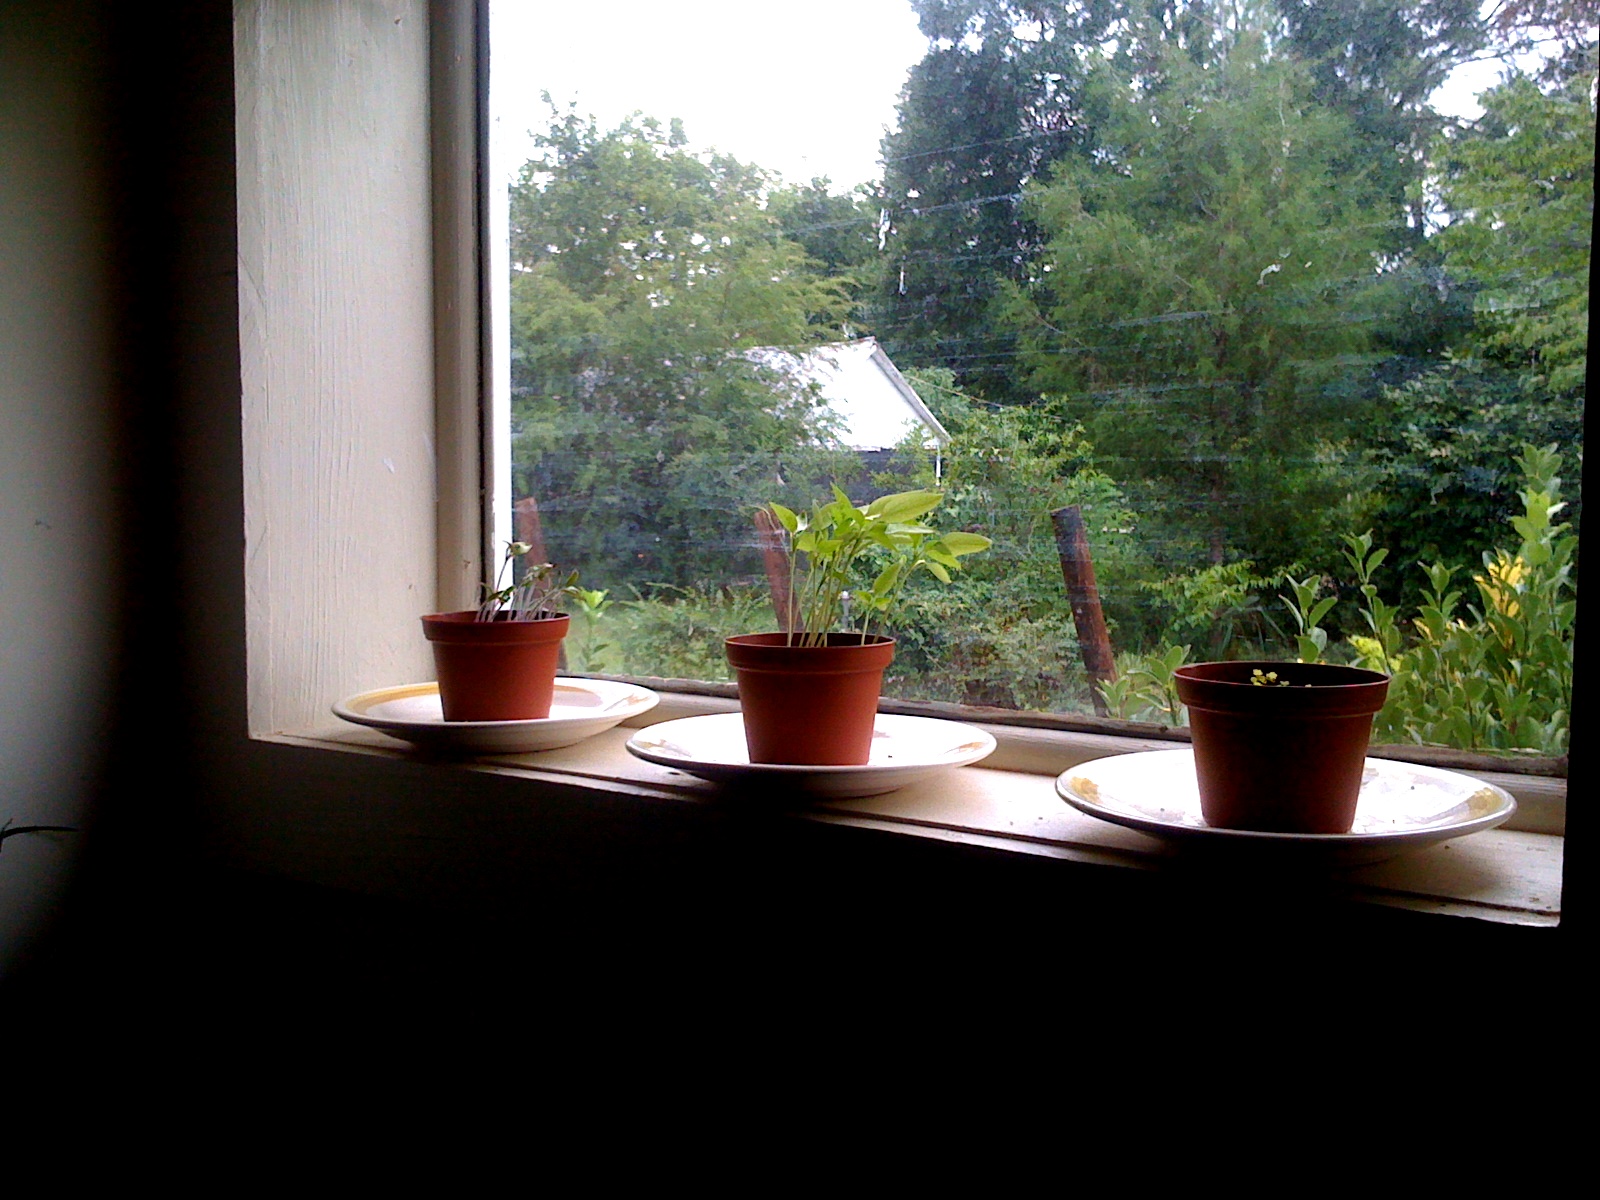
In the window, I'm seeding some of my little plants. 
(Front left to right: Red Peppers, Beefsteak Tomatoes, Strawberries)

 I moved the slipper chair to the other side, and added a folding table on the side. 
I now use it to pile my stuff on top of when I get home. 
BAM!


 And here's a view of living room looking into the kitchen. 
Ignore the disaster in the rest of the room. 
(You can see a sneak peek of the beginning of my wall gallery and newly painted bookshelf there on the left!)
xo.

Friday, June 17, 2011

Planners + Notebooks

Sometimes working room to room is a little overwhelming. Little things are a lot more manageable.

Using my outlook calendar for appointments is helpful for work, but not for the rest of life. For that, I have all of this (see below):


The Before:

Mini and small moleskine notebooks (each with a different purpose) and my new 18 months planner (from Gallery Leather - Maine. I am obsessed) + lots of post-it notes for organization.


The After:

I got card stock paper at Michaels and used the teal glitter and a red with raised dots.


The After:

For the little notebooks, I used Martha Stewart sticker labels, letters, and gems.