
So, once upon a time I lived on a Navajo Reservation. I got almost all of my furniture at Goodwill, with the exception of the leather couch my dad bought me at basically an abandoned warehouse in Gallup, NM called Big Bears Furniture Depot or Big John's Things and Other Stuff or something.
After my first year, this kid Josh moved from the Reservation to a real place like California and he gave a lot of his crappy stuff away.
He piled up everything on his porch and was like "Hey guys, I'm leaving stuff I don't want on my porch."
I acquired a really beat up vintage side table and a crooked wooden stool. When I left the Rez, I gave a lot of my stuff away, included the crooked wooden stool, but brought the table with me to Alabama.
The table was a...meh... color, beat up, and bothered me with its 70s-ness. I hated the table, but it's still a table, you know? And who am I that I think I'm too good to need this table. I can put things on it. And you can lift off the top and there's this little tray inside, which is nice. Also, it's real wood and not particle-board or something, so, a win there.
Here is the top of the table before. It had tons of scratches and marks and sadness.
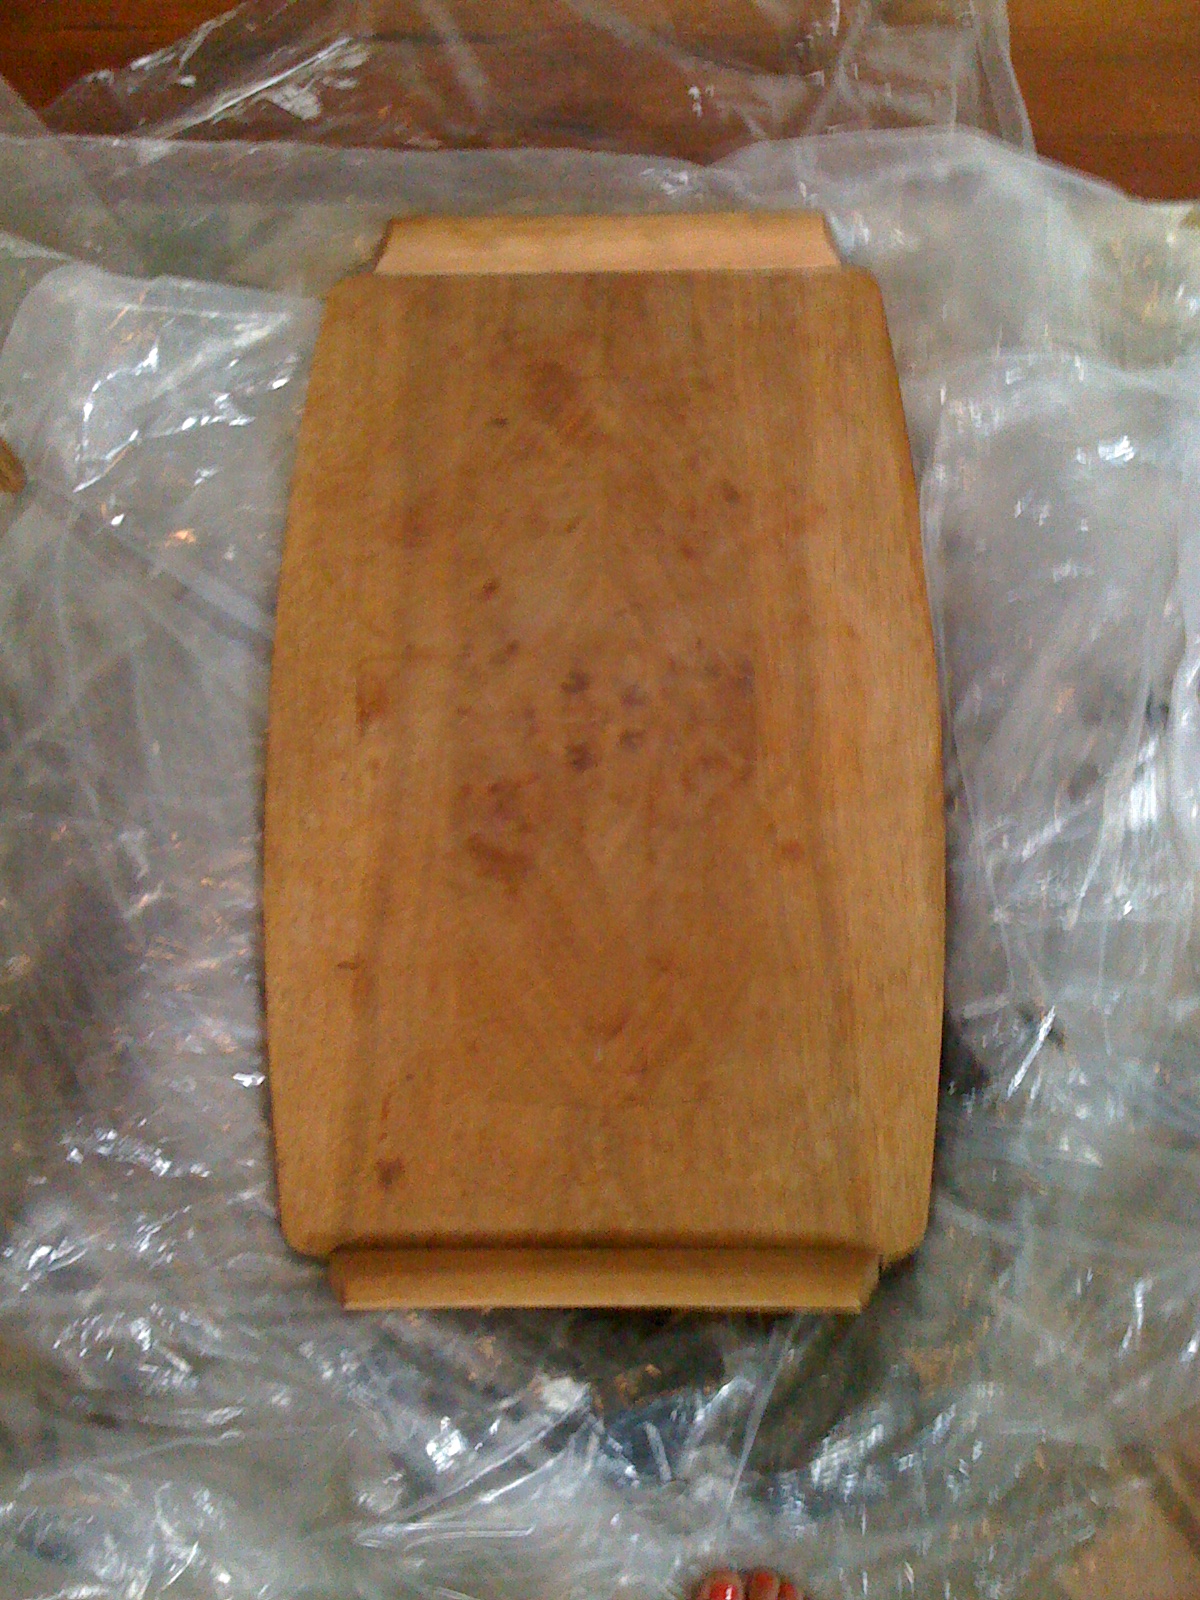
The bottom of the table before.
It still had some varnish and clear coating on it, especially on the lower part and the tray.

So I sanded it. A lot.
A LOT OF SANDING HAPPENED.
It would have probably been a lot easier to strip the table instead of cleaning and sanding it.
But stripping furniture is frightening. Also, it was a zillion degrees outside that day so
sanding inside > using chemicals outside

(Ever noticed that my dog finds his way into a lot of the photos on this blog? I don't know how, but I think he senses the camera. Also, he's very clingy.)
I bought Minwax "Jacobean" stain. It's the darkest stain that isn't black.
Here's how staining works:
1. clean and sand wood
2. brush on even layers of stain in the direction of the wood
3. wait for a few minutes...like 5...or 15 if you want to give it more time
4. wipe off the stain with a cloth that doesn't have a lot of lint....
5. Repeat, or don't. It's up to you.

I don't know what I thought staining would be like, but it wasn't really what I expected. I guess I thought you brush on the stain and it dries and you're done. I had no idea you have to let it kind of soak into the wood then take it off?
I did not, repeat, did NOT sand this enough. The parts that weren't bare enough and took about 2 days to dry and I felt very foolish because I wanted instantaneous results.
Anyway, here's what that looked like after the first stain:

After the second stain:

After it fully dried, which took way longer than it should have if I had just followed directions, I put on the first clear coat of polycrylic.

After I brush on the first coat, it dried, I sanded out the brush strokes, and put on another layer.

After it was fully dry.

BAM! done.

No comments:
Post a Comment
Leave a thought!