Showing posts with label Great Ideas. Show all posts

Sunday, January 8, 2012

Love: Blue Rooms

 Ugh. You guys. Sorry it's been so long.
I've been doing a lot of home stuff. Like paintings and stripping tables (it's not what it sounds like. you are a sick person.) and buying vintage desks to paint and re-re-upholsering (that's two different fabric changes) chairs and experimenting with gold leafing. We'll get to all of that once I can upload pictures and follow through. I promise to do better.

Until then, I'd like to talk about something I love. The color blue. For rooms. As a renter, I can't do this. And it's killing me.


Do you guys remember that song Blue by Leann Rimes? This was popular back when times were simpler. Remember? Children drank soda pop and malts from striped straws, people strolled in verdant parks unconcerned with becoming inspiration for the next Law and Order: Special Victims Unit, and dear sweet Leann Rimes was years away from being the silicone-filled, husband-stealing, home-wrecking skank she is today.

Ah, the halcyon days.

Anyway, blue is a much better color for rooms than for a song.

Let's take a look.
This darker blue is just HEAVEN isn't it. And the white molding? And everything else in this room? One day, friends. One day.

Could this be any crisper? (no)

A wallpaper option.

Blue cabinetry.


Less dramatic, but still nice. Like for a teenager? Like if you were a stepmom/dad and wanted to be "cool"/ wanted them to like you.
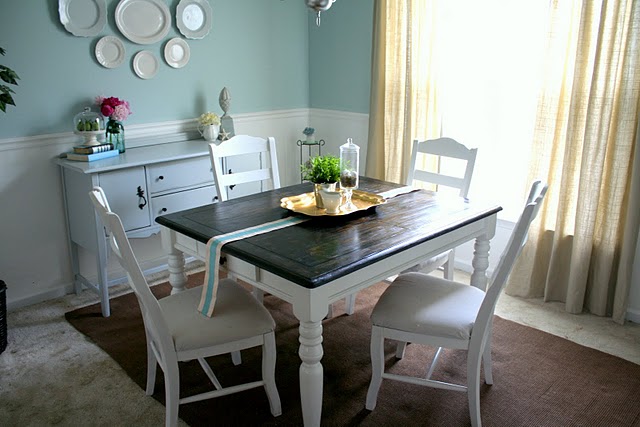
A bit more understated 

Love the floor, rug, and wall color. Hate the china on the walls. It looks like a lot of plates fell off during an earthquake or something. What is that about. 


I mean, it's the White House. How great is this? 


A much better use of patterned china.

Wasn't that nice? Looking through these rooms that none of us have? But could? One day? 

If you are inspired right now, Martha Stewart has a "Decorating by Color" section of her website that can be found here for suggestions about incorporating blue in various ways. Most are good. Some, like those awful gingham fabric stools, are questionable.


Thursday, August 11, 2011

Easy DIY: Ugly Candlestick Painting


Here is a super quick and easy do it yourself-er. It came to me as I wandered the aisles of a local thrift store.

You'll need:
- metal candlesticks. I like varying heights. I like odd numbers. 5 is too many. Unless you want a matching pair or something. Whatever. I'm not your boss.
- Spray primer
- Spray paint
- Outside place

What happened is that I was in the thrift store, considering the pros and cons of buying charming mismatched china tea cups, saucers, and salad plates. Whimsical? Dumb? I wasn't sure.

But then, but THEN, I wandered into the tchotchkes aisle.

Serving trays, Precious Moments knock-off figurines (as if the originals weren't terrible enough), things made of glass and plastic, and candlesticks.

I thought "Huh. I like this, but I don't have the kind of home where I can just go around putting brass candlesticks everywhere." Then, "I will paint them."

I picked up a bunch, then narrowed the selection down to 3 by arranging them together and seeing what looked best, like SO:

I washed them, and took them outside.


I primed them using spray primer. Paint primer would have left a lot of brush marks that really aren't going to work with this project. I guess you COULD, but you'd have to wait for the primer to dry, then sand the crap out of it. Then do it again. Not for me.

I made sure every angle was covered and that the stream of primer was even.


There must be a better way to do this, but I don't know what that is. So this is what happened to my hands.


Look! They're blue! (and on the newly stained side table! See that project here.) 


Final arrangement, avec candles.


Monday, July 18, 2011

The Time I Made Mint Ice Cream


So here is what happened.

I came across an ice cream maker for 50% off. So I bought it, because, obviously.

Also, I'm a stress baker. Some people drink or gamble or scrub bathtubs (I'm looking at you, college roommate). Normally, I bake things. Today it was really hot, and I had this new ice cream maker so I made what I really wanted: Mint Chocolate Chip.


 So I googled. And I found an egg-less recipe. This was important because I am both impatient and lazy. Egg-less means you don't have to heat anything up. It also means there are no eggs, so it's less of a custard base? You just throw ingredients in a bowl and stir them.

Let's go on this journey together, shall we?

Supplies

Sugar, Cream, Milk, Salt, Peppermint Extract, Vanilla Extract, Semi-sweet Chocolate Chips


1 cup of Heavy Cream. 1 cup of milk.


1/2 cup of sugar


Add Vanilla to taste. You're supposed to measure it, but, you know. I added drop by drop and taste-tested it until it was good.


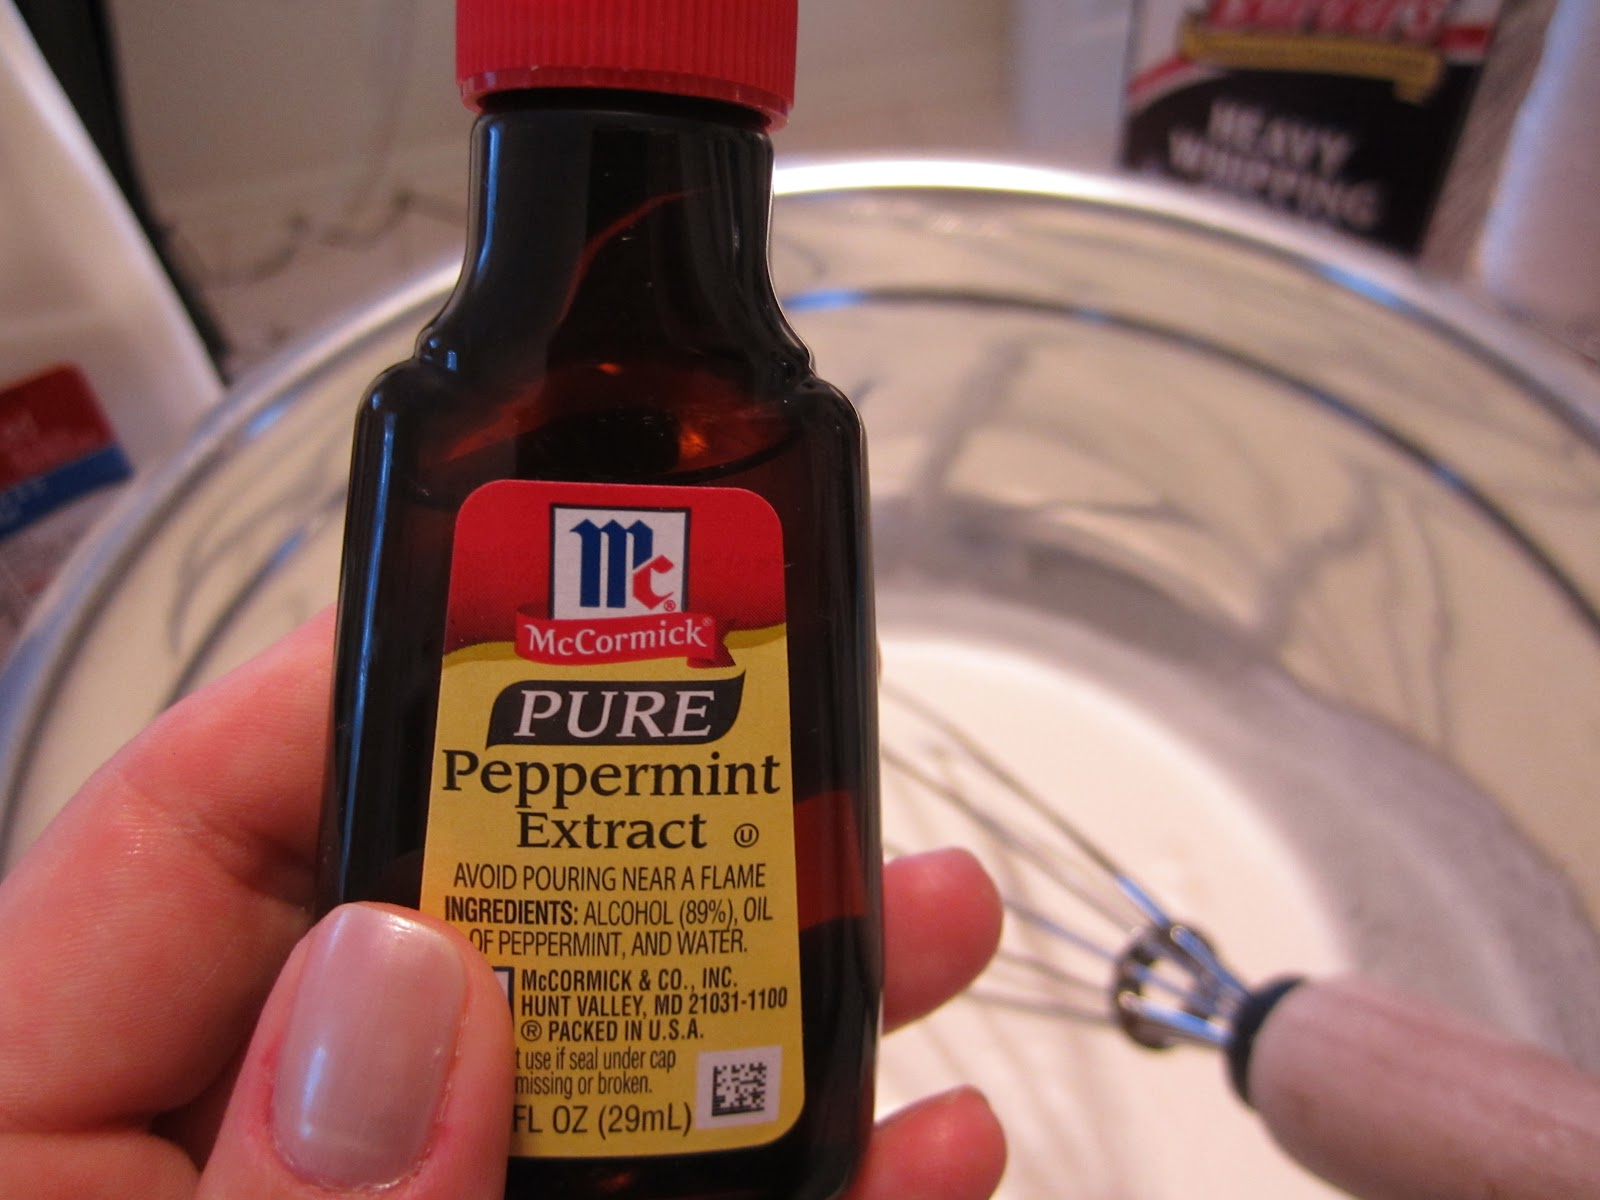
Add peppermint extract to taste (same as the vanilla, drop by drop.) This stuff is strong so take it easy. Also, in my extensive 5 minutes of research, I learned one should not use peppermint oil. Extract is where it's at. Now we know.


Stir it until the sugar dissolves.

Into the ice cream maker we gooooo...

So, you wait about 10 minutes until it's firming up a bit and then add the chips.

I thought the regular sized chocolate chips I had on hand might be hard to eat once frozen so I put some of the chips in a ziploc sandwich bag and beat the crap out of them with a meat tenderizer. I added them, handful by handful, into the ice cream maker.


I waited 20 more minutes.

If you were smart, you'd use this time to clean up.I did not. 

Instead, during this time, I got a spoon and tried to sample the ice cream while the machine was stirring. I knew this was a bad idea as I was doing it. However, I thought if I timed it juuuuuuuuuuust so I could get enough on the spoon to taste. What actually happened is that I almost broke the machine by sticking a spoon in it. So...don't do that.


I lifted off the top of the ice cream maker, and it looked like this:


I used a spatula to spoon the ice cream into 2 small tupperwear containers, and put them in the freezer.

After two hours, I took one of the containers out and made a bowl of ice cream.

Here's the Final Product!


What I learned:

- You have to freeze the bottom of the ice cream maker (I'm sure it has a name but don't know what it is) before you can make the ice cream. Probably overnight to be safe. What this means is you should always have it in the freezer JUST IN CASE the spirit moves you and you need homemade ice cream right. now.
- The peppermint tastes much stronger in the mixture before it gets frozen. Next time, I'm going to add the peppermint to taste and then add a bit more than that.
-  The recipe called for green food coloring, but I'm not a child. I knew I wouldn't be confused by something that isn't green tasting like mint. But. You do what you want to do there.
- Peppermint extract, not oil
- Don't put spoons in the mixer.

Friday, July 15, 2011

DIY Project: Prime and Paint Gross Bookshelf

Things I know (not a comprehensive list):

a. I have no money.
b. I want my house to look nice.
c. I want to have cute things in my house.
d. I have no money.

A solution to problems a and d is to buy cheap stuff.
A solution to b and c is to make that cheap stuff look nice.

I saw a bookshelf at a thrift store. It was $5.88.

And I was all like "Hey, I should buy this ugly bookshelf and paint it a nice color and put it under the wall of picture frames in my house!"

...and so I did. And so I did.


Here is the before!
I know. 
Right now, you are all like "Betsy, why did you buy this?" 
Because it was 5 dollars and 88 cents.


The first thing I had to do was clean it. You can buy a spray to do that. So I sprayed the stuff on. I wiped it off. Boom.Clean.

The next thing I had to do was sand the crap out of it. Because the surface was uneven and weird. So I did that. That took longer than I wanted, but eventually I evened things out.

I got some primer. I painted on a coat with a paint brush.
Waited an hour.
Sanded the primer.
Waited 2 hours.
Sanded it with a really fine sandpaper. (to get some larger brush strokes out)

I probbbbbably didn't sand it as much as I should have, but these things happen.


This is what it looked like after the primer:


I bought high gloss black spray paint because I wanted it to be shiny.


This is what it looked like after first coat:

And after the second coat:


In its new home, empty.


In its new home, with THINGS, you guys:


(Ed. note: I just piled a bunch of stuff in there.Other things will end up filling the shelves. I know we were all very concerned.)

Tuesday, July 12, 2011

House Music: Early Morning

Music in a home is very important.

There are different songs for different situations. We all know this.
 There really isn't any sink full of dishes that cannot be slayed by Aretha's "Chain of Fools", whereas the occasional Avril Lavigne should be saved for the very darkest of days (or, simply, not at all). For me, "Werewolves of London" is pretty universal, but Rap should be relegated to something up-beat. Like getting ready to go out....or vacuuming. No? Just me? OK.

Let's all be honest here.

Anyway, Adele is my early morning stuff. For the type of mornings when you have a bit of leisure time. This is not for the mornings when you need to pull your shit together and get to work on time.

So, for all you early morning coffee drinkers and newspaper readers, try this little ditty on for size.


Sunday, July 10, 2011

Real Home: Decision Made!

Last week, I showed you some options for the nook.


After a successful stripping, priming, and painting of a bookshelf (that post will be up shortly) and the fact I'm halfway through a (so far) successful refinishing/staining table project, I've decided that I want to tackle reupholstering those two chairs. God help us all.

So if that ever actually happens, I'm thinking black high gloss paint for the wood and a bright pattern for the cushion (that post will come later with several fabric options).

Here are the chairs. Please ignore le mutt in the foreground. 

What this means for the nook is that I'm going to need to hold off on purchasing a bench/chair for it.

I still, however, needed additional seating for my living room. A few of you weighed in, in various ways, with your picks and opinions and you are all wonderful and smart and fashionable. I decided to go with...(drum roll please)...


The Gray Armchair!


  Here was the little picture window corner before:
 I had my plant, my little vintage table and the slipper chair. It was fine, but not like...AWESOME.

 And here it is after!
 I moved the armchair into the corner, moved the table to the side, and added some additional treasures/tchotchkes to the table. I also put two of my red picture boxes with stationary and other craft supplies underneath. Perfect storage opportunity, for the win. And...AND...I got to introduce some red into the mix. So, you know, big moves were made there.
Boom!

Good call on this one. It really is very comfortable. 
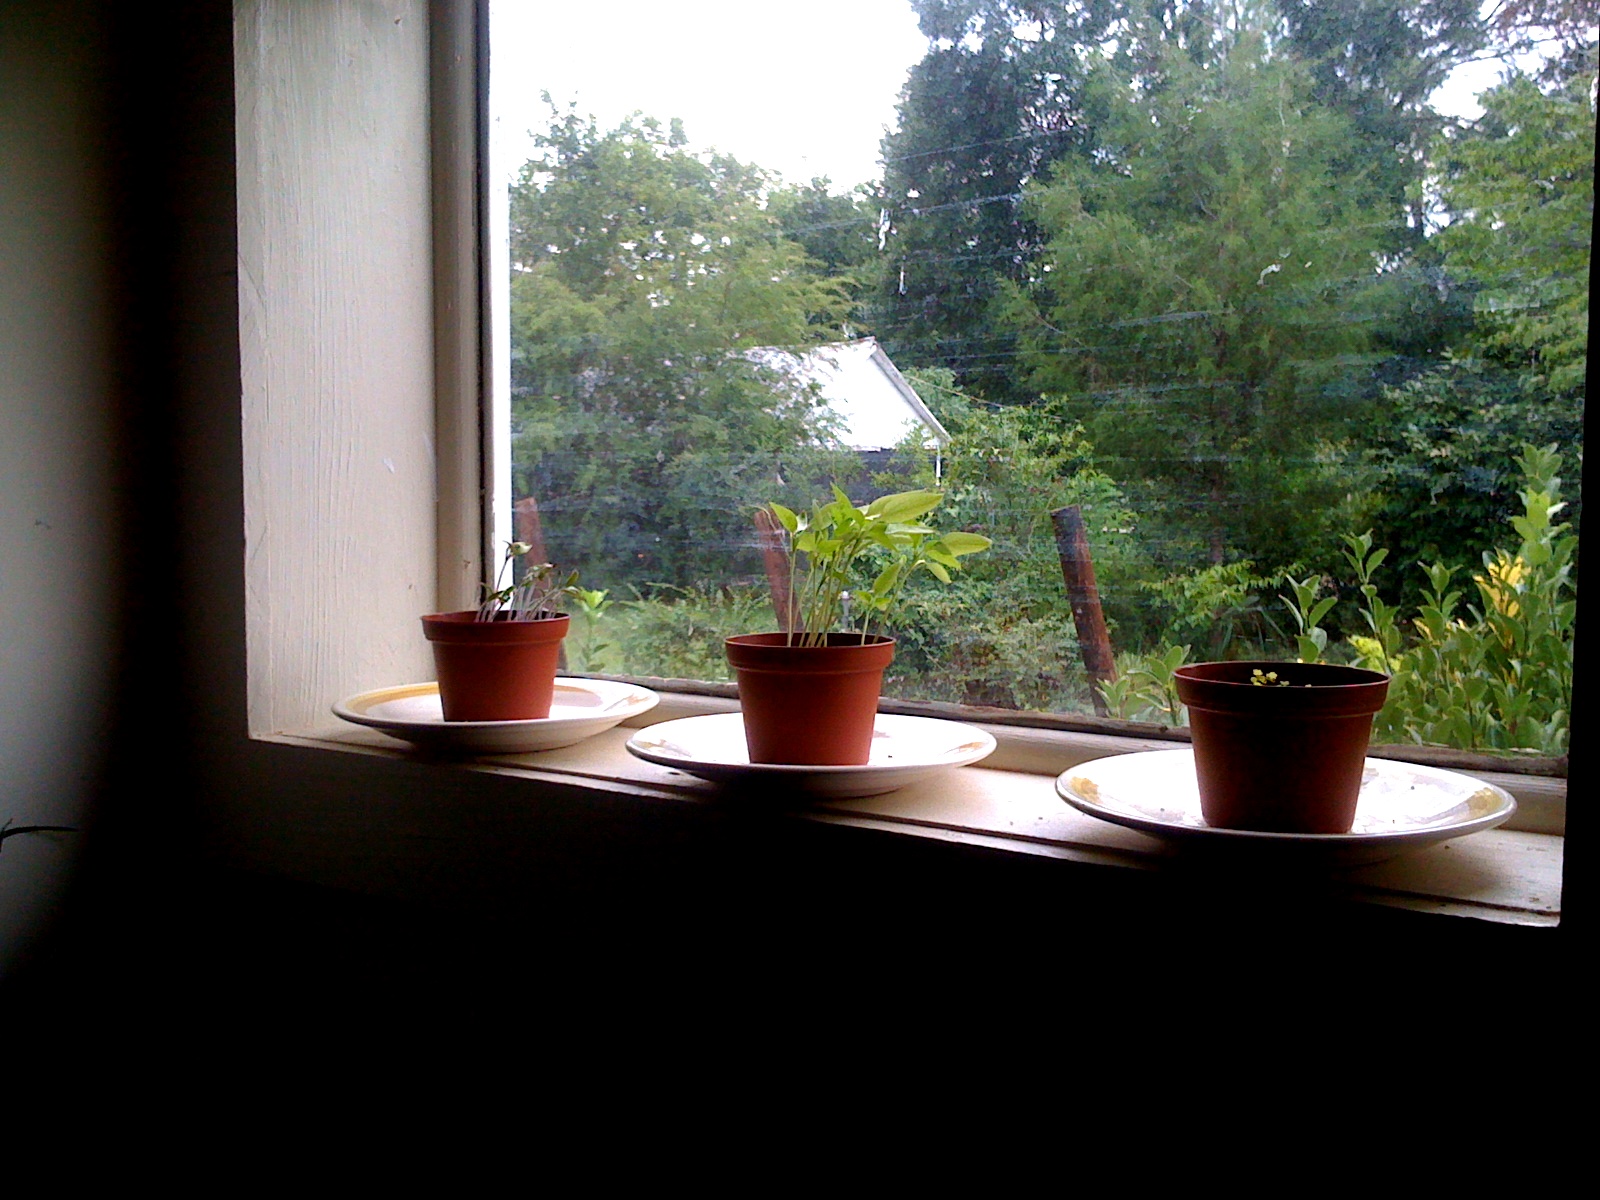
In the window, I'm seeding some of my little plants. 
(Front left to right: Red Peppers, Beefsteak Tomatoes, Strawberries)

 I moved the slipper chair to the other side, and added a folding table on the side. 
I now use it to pile my stuff on top of when I get home. 
BAM!


 And here's a view of living room looking into the kitchen. 
Ignore the disaster in the rest of the room. 
(You can see a sneak peek of the beginning of my wall gallery and newly painted bookshelf there on the left!)
xo.

Sunday, July 3, 2011

Love: America

This weekend we celebrate America's birthday!

The 4th was once one of my very favorite holidays. I say "was" because when I taught 2nd grade, I had to explain Independence Day to a classroom full of Native American students.

It went a little something like this:

Student: So what is the 4th of July?
Me: Great question! We celebrate the 4th of July because that is when we became independent of Britain.
Student: ...
Me: So, the Americans were living here, in America, before it was the United States of America...and, uh, well I guess so were the Native Americans....Yep, the Native Americans were living there, actually before the colonists got there. Anyway, the colonists didn't like the British telling them what to do. Wow. And, so....hmm...but, uh. Huh. Sooooooo, yes, the Native Americans were definitely here. But, uh, the British colonists moved here and uh, well....huh. Freedom?

Fin.

This was nothing compared to the Columbus Day Discussion or, my personal favorite, The Thanksgiving Story! Hooray!

Anyway, America. AMERICA. Bald Eagles! Fireworks! Walmart! Pushing uncomfortable truths about our country deep deep deep into our  collective psyches so we never need to speak or think of them again! Missiles! GDP! Swimming Pools!

I mean, who am I kidding? The Fourth of July is fantastic. It means, sun, water, sand, grilled meats, fireworks and family. I also think of fresh fruit for some reason. Also, my older brother, younger sister and I trying to drown each other?

OK, we're back. Let's talk about some good ol' Red, White, and Blue inspiration!

The patriotic displays seen this weekend can also be used throughout the house. It'll always looks like summer. 
Look at these whimsical paper things!

 Tablecloth.

I think I love everything about this room. So crisp. So clean. 
Primary colors without looking like a box of crayons.
This is perfectly Red, White, and Blue without looking like you were too lazy to take down
your Independence Day decorations. Cheers!

 
 Alright, you guys, let's ignore that this is a kid's room. 
The rug. Old Glory. The white sunburst mirror. Red couch. Bordered crisp linens (do I spy a monogram?)

 Everything about this is pretty terrible, except for the little America banner. How droll!
But, seriously, the other stuff?
I look at this and see a bunch of wooden geese with handkerchiefs around their little necks being sold
at a county fair. Thank you, no.

I don't know what the hell is going on with the backboard there. 
Also, I hate monkeys. 
BUT, what I do see is some crisp red, white, and blue action. Also, Boston University?


Everything I found below, I found on etsy. 
I searched in "Vintage" and just typed in "American Flag."

Framed Vintage Finds:
Old Flag print + Vintage War Poster


48 Stars. Perfect for rental walls you cannot paint. 
 

Coffee table. Side table. Table. 


Look at this great vintage book, and the pages therein!
I'm imagining choosing maybe the title page and 3 others and FRAMING them, guys. Framing them.
Together? Or maybe just choosing your favorite. And framing them separately.


Happy 4th!